
Xiegu G90 Firmware Update V1.81
/PROJECT 26-01/MSG 02/This message documents the process for updating firmware (V1.81) on the Xiegu G90 HF transceiver as a prerequisite to digital integration and system assembly.
XIEGU G90HAM RADIO
Tux
1/9/20265 min read
REF/A/"RADIODDITY XIEGU G90 FIRMWARE DOWNLOADS"/"https://www.radioddity.com/pages/xiegu-download"
REF/B/"XIEGU G90 FIRMWARE UPDATE WALKTHROUGH VIDEO"/"https://www.youtube.com/watch?v=UoMrDXhuFo0"
REF/C/"XIEGU.EU G90 FIRMWARE UPGRADE TUTORIAL"/"https://xiegu.eu/wp-content/uploads/sites/4/2022/10/G90S-firmware-upgrade-tutorial-WS-JSZL-2022-10-01-EN.pdf"
REF/D/"TERA TERM PROJECT"/"https://github.com/TeraTermProject/TeraTerm/releases"
REF/E/"USB to 3.5mm Stereo Plug AJ Programming Cable for Xiegu G90 X5105 G1M G106 HF Transceivers Firmware Upgrade and CAT Control"/"https://a.co/d/2GuCZ5p"
Purpose
This message documents the process and rationale for updating firmware on the Xiegu G90 HF transceiver prior to any digital integration or system assembly.
Firmware state is treated as a prerequisite condition, not a tuning step. All subsequent testing, troubleshooting, and integration assume the radio is operating from a known and verified firmware baseline.
Prerequisites
Xiegu G90 HF transceiver
Stable power source (battery or regulated DC 12-15V)
Windows PC
USB-to-Serial Cable
Correct firmware image for the G90 model and revision. (I'm upgrading to V1.81)
Firmware flashing utility supplied with the firmware package. (Tera Term)
Firmware Update Procedure
Note: The official Xiegu steps walk you through it perfectly. I think this may be updated from the last time I installed it so I just want to give anyone out there some follow on instructions to it.
Step 1: Obtain Firmware and Tera Term
Download the latest stable firmware from an authoritative source https://www.radioddity.com/pages/xiegu-download
Extract the files. Within you'll find Documentation and Firmware.
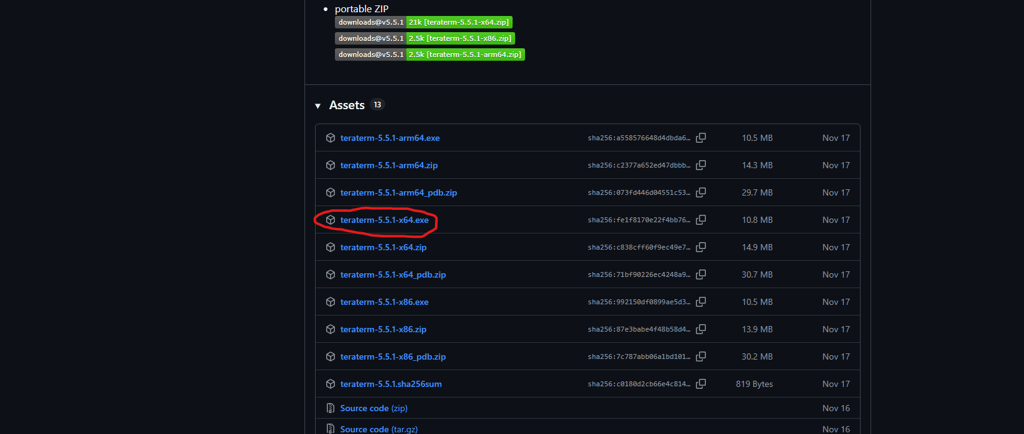
Download and install Tera Term. https://github.com/TeraTermProject/TeraTerm/releases
Honestly, this scares the crap out of me. Some foreign software on Github which is definitely stealing my information somehow. Maybe there's a cyber security expert who can help me here.
Step 2: Prepare the Radio
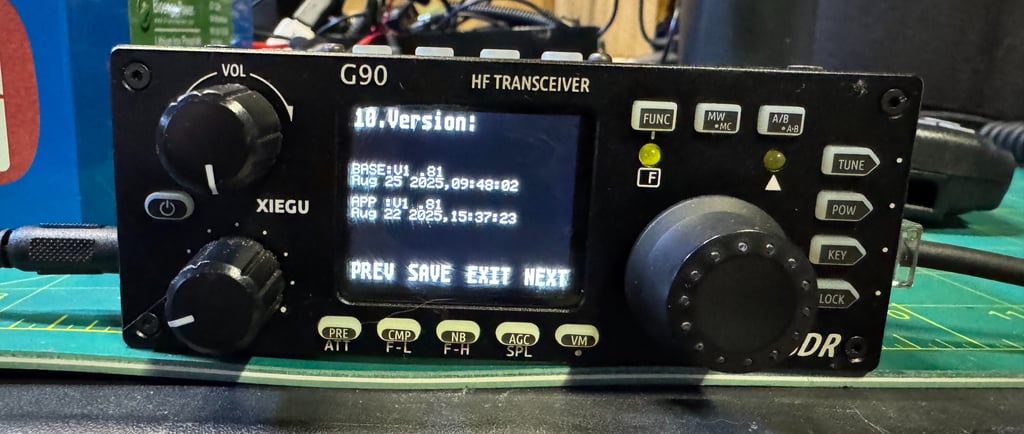
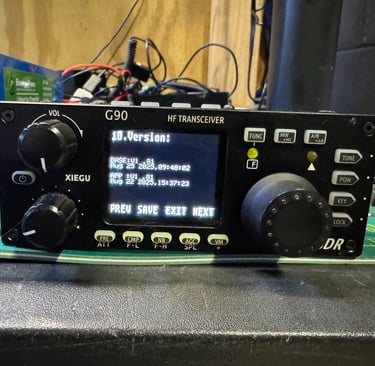
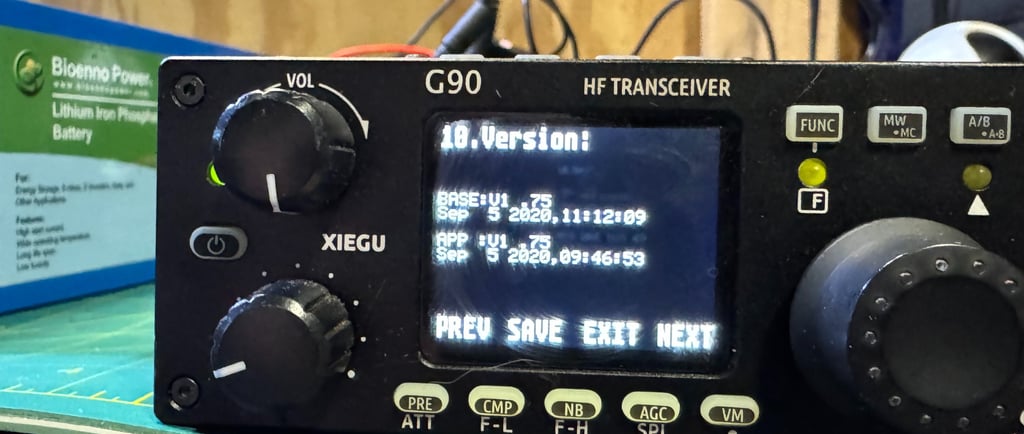
Check your latest firmware version. Long press [FUNC] -> short press [PRE/ATT]
As you can see, I'm a little behind. Updating from V1.75 to V1.81
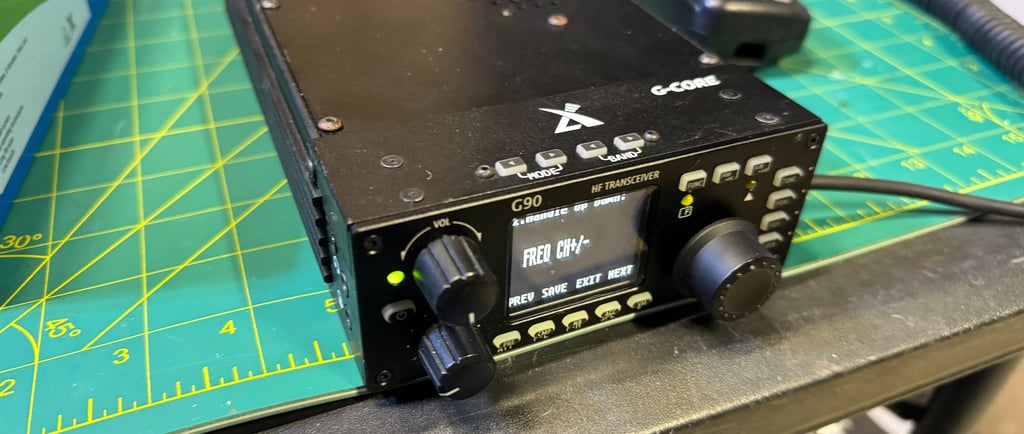
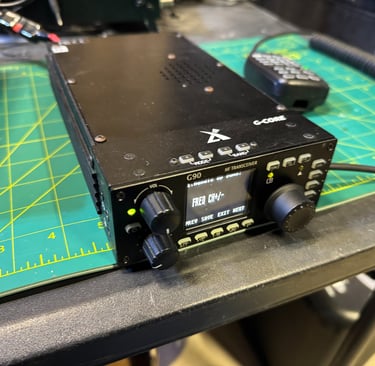
PERFORM FACTORY RESET
With radio off, press and hold the [FUNC] button and press the [POWER] button quickly on the radio to start the restoration of factory settings.
Press [PRE/ATT] to confirm the reset.
Step 3: Connect to PC
Connect the G90 directly to the Windows PC via USB
I misplaced my original G90 cable somewhere in my storage unit. I'm sure I will find it in three years. I bought a new one on Amazon. I don't know if this will work.
[AMAZON LINK]
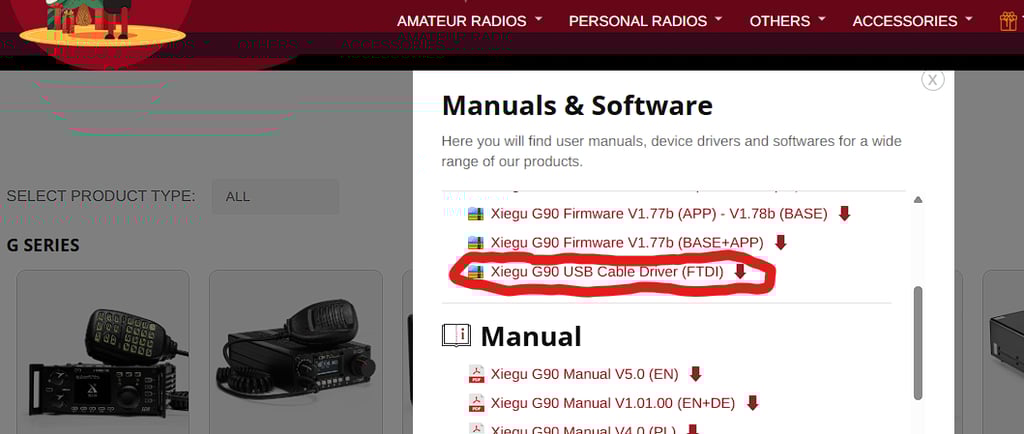
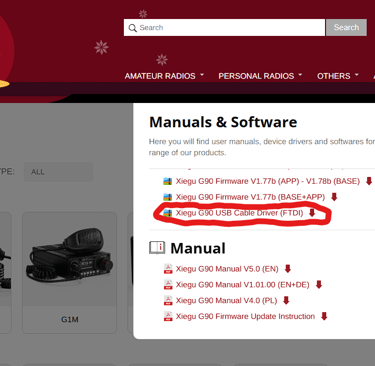
This is one of the biggest problems people have with interfacing with their radio. "The first time the USB-side of the supplied programming cable
is plugged into a USB port on the computer, the operating system will search for a driver file for this new hardware and automatically install the driver program. If all has gone well, you will be able to see the virtual COM-port in the device manager program. If the driver file can’t be automatically installed by the operating system you will need to install it manually (driver files are available from the Radioddity G90 support page)"
Naturally, my driver didn't load, so we will go on this journey.
Surprisingly I went to the link they provided, downloaded another executable, and now the COM port appears in my Device Manager correctly.
Step 4: Enter Firmware Update Mode - APP
Radio is currently in the OFF state.
Now that the cable works with the computer, connect USB-to-Serial cable to COMM port on head unit. It's the one with the little guys head next to it.
Start Tera Term
Select "Serial" and confirm COM port in device manager.
Select "Setup" -> "Serial Port..." and change speed to 115200
Confirm with "OK"
Check your G90 serial number for some crazy connections with Tera Term.
Version with V Serial Number: press in volume knob while powering on radio. Press 1 on keyboard within 10 seconds.
Version without V Serial Number: click in black space of Tera Term, hold down space button on keyboard, power up radio. Press 1 on keyboard.
Old firmware will be erased. Then you must upload new firmware.
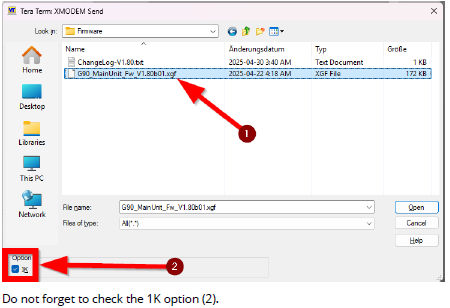
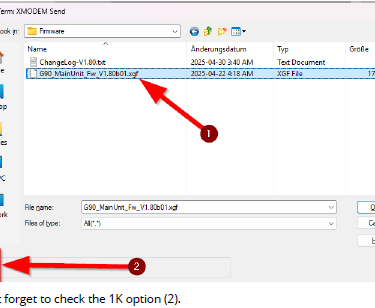
File->Transfer->XMODEM->Send
Select file with firmware. REMEMBER WE ARE DOING THE APP RIGHT NOW!
DO NOT FORGET TO CHECK THE 1K OPTION
It was at this moment that my radio went blank and I was only freaking out a little bit. I forgot to select this option. My radio went black. I disconnected it a few times and tried to flash again. Don't worry, If you don't read and screw this up, just go back and read this part and flash it again with this option. Don't say I didn't tell you so.
Step 5: Enter Firmware Update Mode - BASE
Radio is currently in the OFF state.
Same as the Display Unit except connect USB-to-Serial cable to COMM port on rear of base unit. It's the one that says 'COMM'.
Start Tera Term
Select "Serial" and confirm COM port in device manager.
Select "Setup" -> "Serial Port..." and change speed to 115200
Confirm with "OK"
Check your G90 serial number for some crazy connections with Tera Term.
Version with V Serial Number: press in volume knob while powering on radio. Press 1 on keyboard within 10 seconds.
Version without V Serial Number: click in black space of Tera Term, hold down space button on keyboard, power up radio. Press 1 on keyboard.
Old firmware will be erased. Then you must upload new firmware.
File->Transfer->XMODEM->Send
Select file with firmware. REMEMBER WE ARE DOING THE BASE NOW!
DO NOT FORGET TO CHECK THE 1K OPTION
Step 6: Perform Factory Reset and Confirm Firmware
PERFORM FACTORY RESET AGAIN
With radio off, press and hold the [FUNC] button and press the [POWER] button quickly on the radio to start the restoration of factory settings.
Press [PRE/ATT] to confirm the reset.
Check your NEW firmware version. Long press [FUNC] -> short press [PRE/ATT]
#CommoGods #TacticalCommunications #DigitalHF #HamRadio #XieguG90 #FirmwareUpdate #RadioMaintenance